Note:
Hugin is a free
cross-platform image processing tool, so this may be of interest to you even if you're using Windows or Mac.
Hugin is best known as a great tool to create panorama images from multiple photos; after all, the full title of the software product is
Hugin – Panorama photo stitcher.
Another, not so widely known use of the same application is correcting distortions of wide-angle photos. When shooting with a wide-angle lens, you invariably end up with vertical lines leaning back, leaning to the side, or even "falling in" on the observer. While this
keystone effect can enhance the impact of an photograph and is sometimes consciously included in the composition of an image for artistic effect, it often simply distracts the viewer, when you simply want to show a building or a city street "as is" and are using a wide-angle lens purely for practical purposes.
There's an extensive tutorial on the subject on the
Hugin website, on which I've based my tests and the following notes.
The process of correcting those "falling" vertical lines essentially includes 2 basic steps:
1) Define lines that are supposed to be perpendicular
2) Distort the image so that these defined lines actually become perpendicular
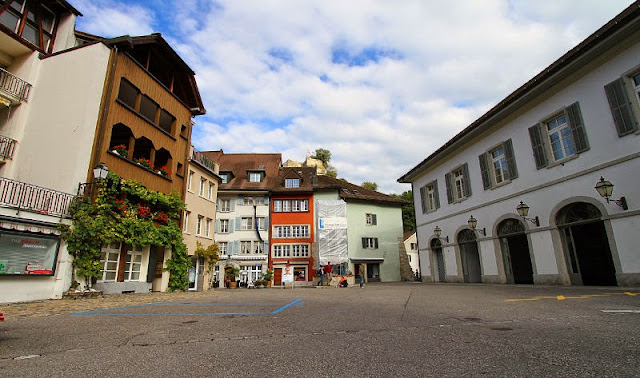
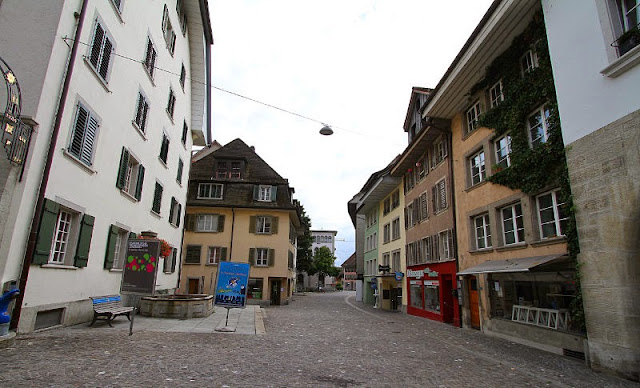
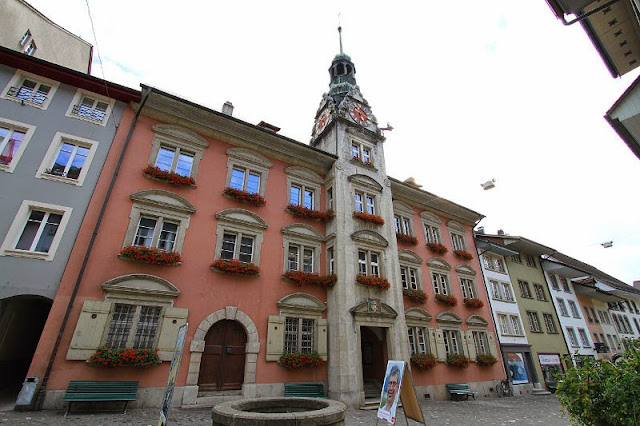
Let's do this with this image:

1)
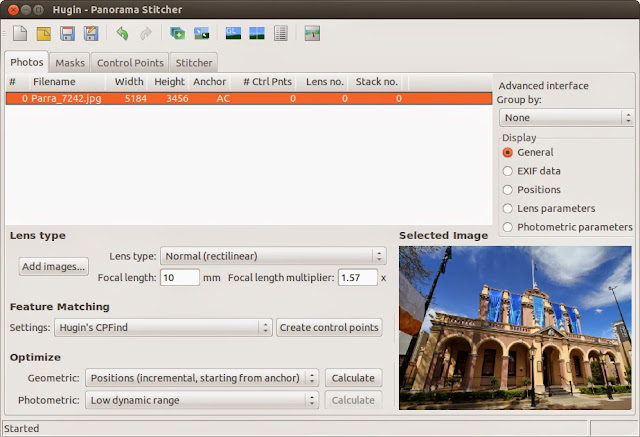
Load the image into Hugin, just as you would load any sequence of photos to create a panorama image.
2)
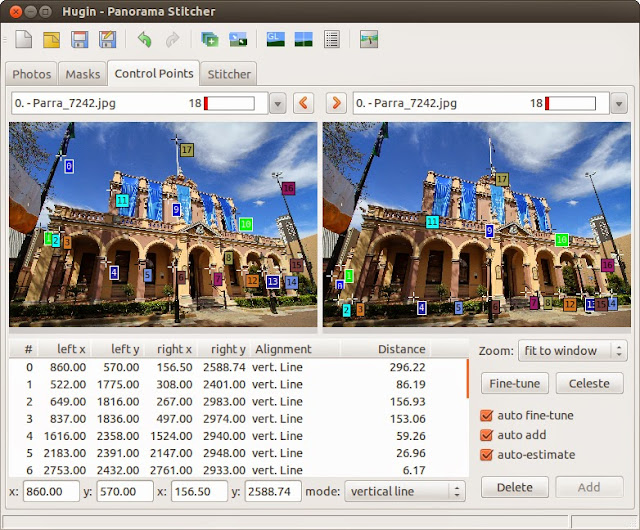
Set the control points. This is where you spend most of your time, this is the step that takes some real, manual work.
Make sure that
Auto add is set. To start with, make sure
Zoom is set to
fit to window (you may need to temporarily change this to
100 % in order to get the exact positioning of some control points perfectly right).
To set the control points, pick a vertical feature in the left copy of the image and set a control point at one end. Then, set the corresponding control point at the other end of that vertical feature in the right copy of the image.
Ideally, you define your vertical features spread over the whole image, from left to right, and both in the top and the bottom section. This will allow Hugin to correctly calculate the correct distortion for the whole image; if you only define vertical lines in the left half of the image, Hugin has no way of knowing that there are also vertical lines in the right half, leaning in a different direction.
3) Click the
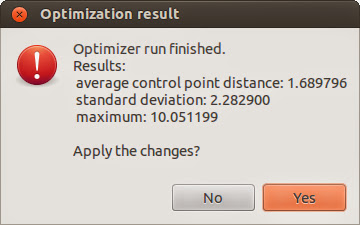
Optimize button

This will, well, optimize your control points. When done,
apply the result of the optimization process:
4) Open the
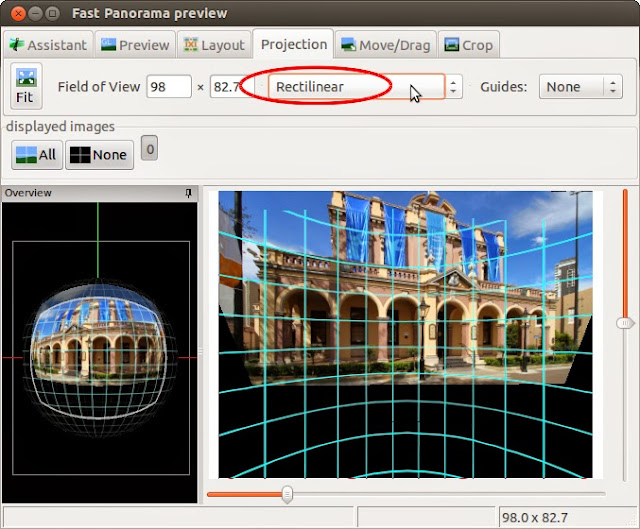
Fast preview window:

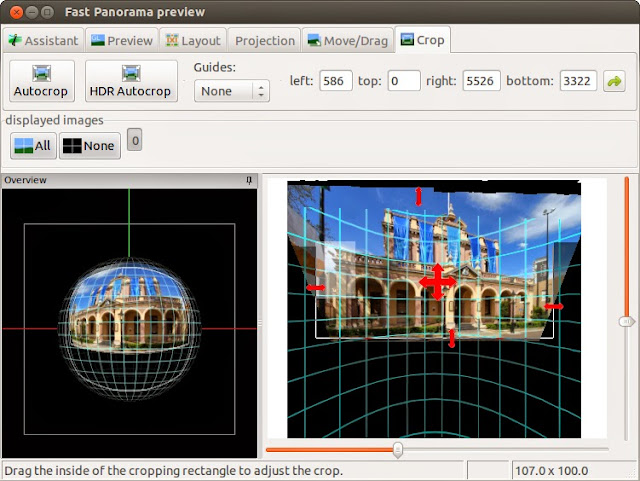
5) In the
Projection tab, set projection type to
Rectilinear.
6) In the
Crop tab, drag the boundaries to adjust the crop area.
7)
Create the corrected image. Since
Hugin's primary function is to stitch multiple photos together to create panorama images, the final step of the process is called
Stitch even though with only 1 image, you don't actually have anything to stitch together.
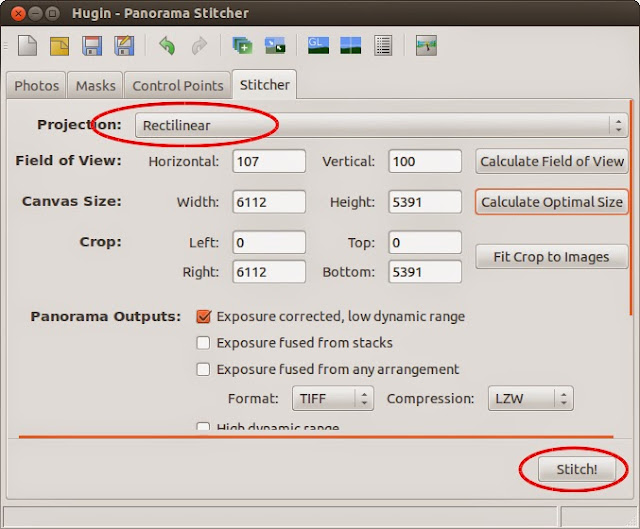
With that in mind, switch to the
Stitch tab, make sure that
Projection is set to
Rectilinear, and click the
Stitch button to let Hugin do its magic.
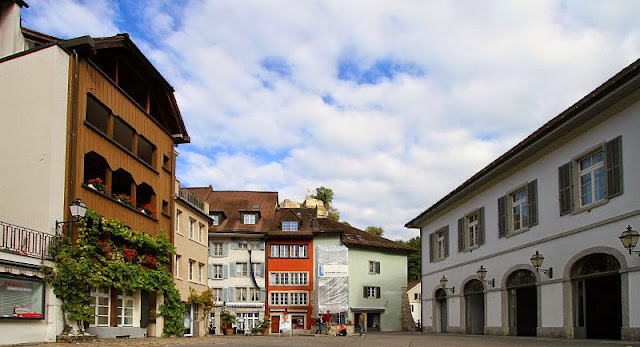
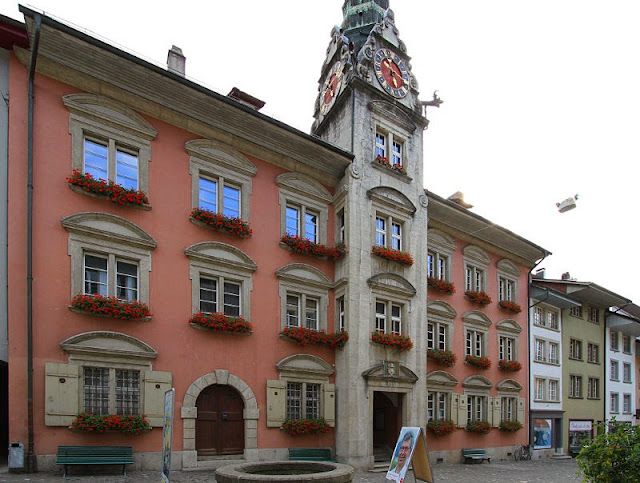
 There you have it
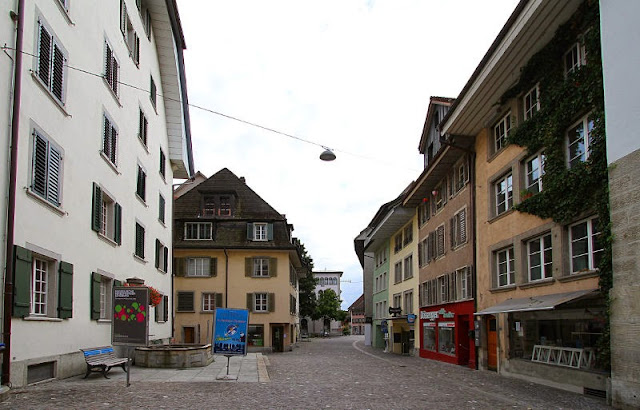
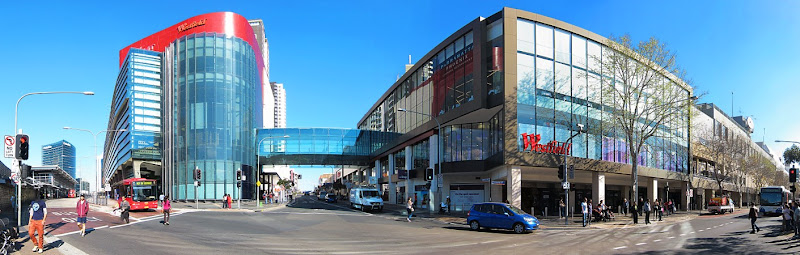
; one wide-angle picture with perfectly perpendicular vertical lines:

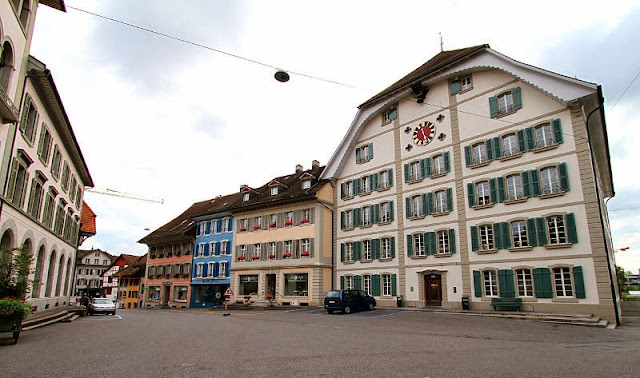
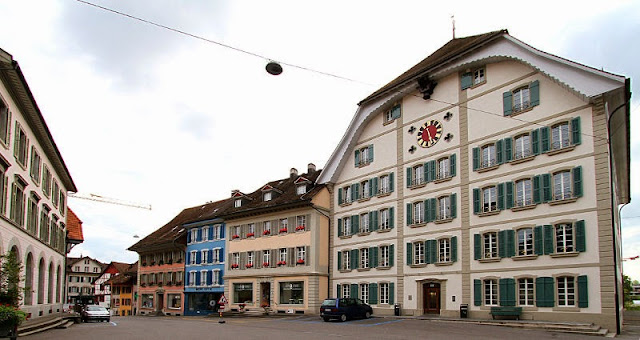
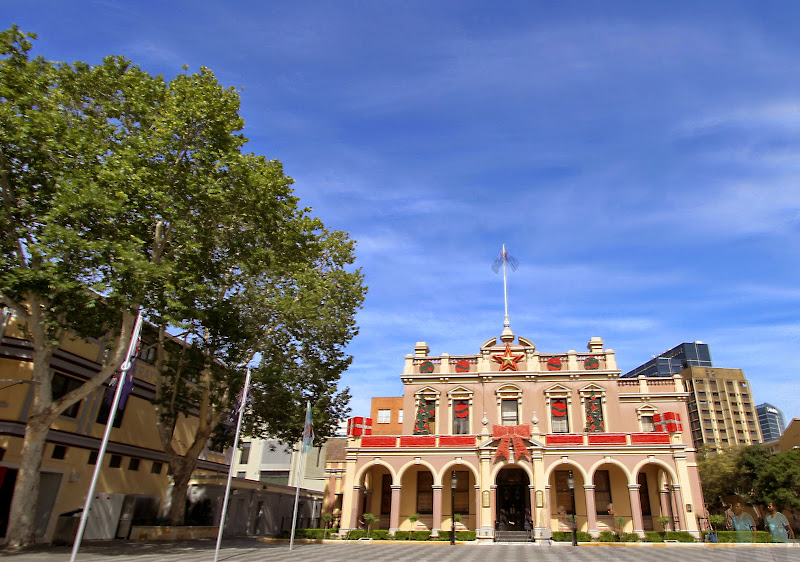
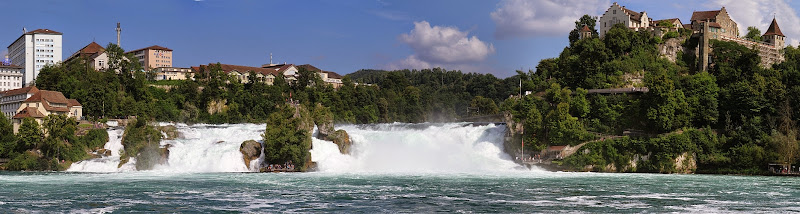
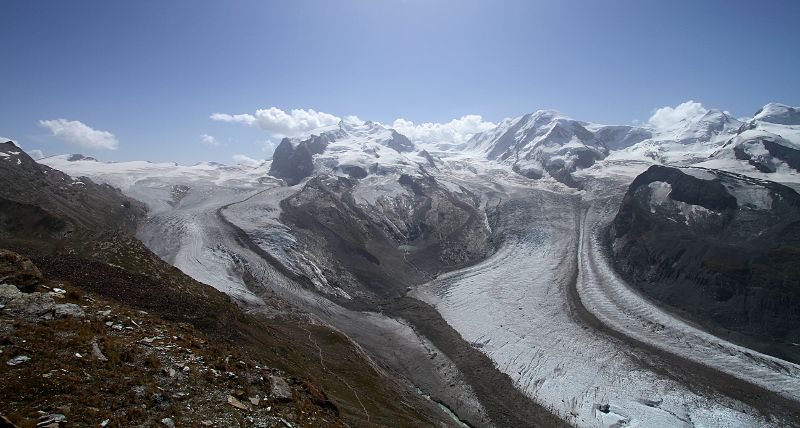
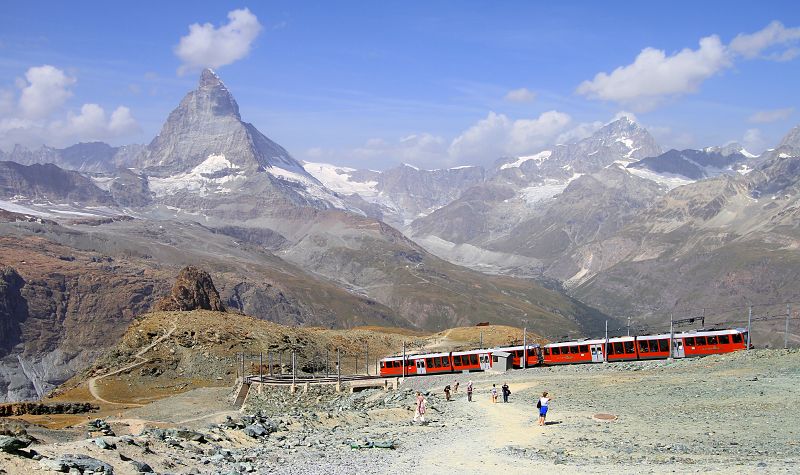
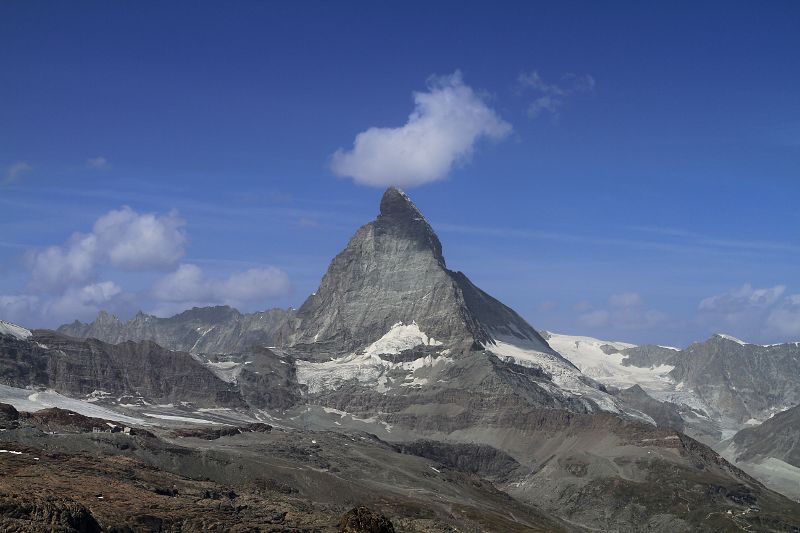
Below are some more examples;












 Posts
Posts


